
Exploring The Pros And Cons Of Dog Elevated Beds And Sofa Beds
When it comes to ensuring your pet’s comfort, the choice of a dog elevated bed can make a significant difference. In this blog, we delve

DIY PVC dog bed is a wonderful way to show appreciation to your canine companions, who are undeniably man’s best friends. These loyal pets provide unwavering companionship and require little in return. While dogs naturally offer their love freely and unconditionally, reciprocating their affection with a thoughtful gesture can be rewarding.
Many dogs spend a substantial amount of time outdoors, making it important to ensure their environment is comfortable. This guide illustrates how to craft a simple yet cozy PVC raised dog bed, a perfect upgrade from lying directly on the ground. For a visual overview of this project, refer to the accompanying video. Detailed instructions for constructing this PVC dog bed follow below.
1-1/4” PVC Pipe (opt for white schedule 40 PVC for optimal results) – (Approximately 11.5 feet)
1-1/4” 3-Way PVC Connectors (commonly referred to as side outlet elbows) – (4 pieces)
1-1/4” PVC End Caps – (4 pieces)
½” Round Head Screws – (32 in total)
Weather-resistant Fabric – (Dimensions: 42” x 32”)
Electric Drill
PVC Pipe Cutter (either a cutter or saw is suitable)
Measuring Tape
As previously mentioned, 1-1/4” schedule 40 PVC pipe is the ideal choice for constructing a PVC dog bed. This type of pipe is not overly thick, making it more manageable than the schedule 80 variant, and it’s also more affordable. Typically, these pipes are available in 10-foot lengths, so purchasing two may be necessary.
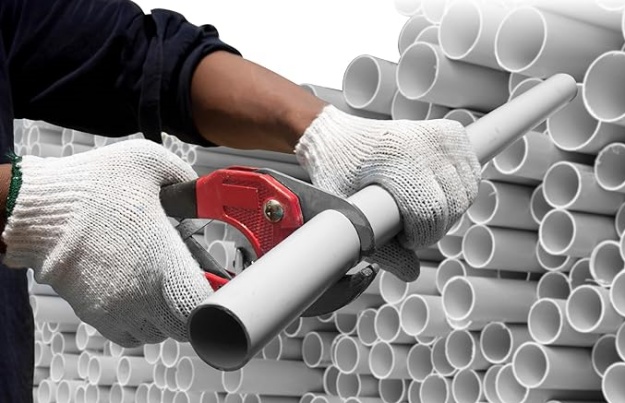
For this project, you need to cut the pipe into eight distinct segments as illustrated in the diagram; this includes four pieces measuring 4 inches each, two pieces of 23-1/2 inches, and two pieces of 32-1/2 inches.
Accurately measure these lengths using a tape measure and proceed to cut them using a PVC cutter. If available, a standard handsaw or an electric saw can also be used for this task.
With all the necessary pieces ready, it’s time to start assembling our PVC pet bed! Begin by using the 3-way connectors to join the four longer pipe sections, forming a rectangular frame. Position the 3-way fittings so that they point downwards, as these will serve as the starting point for the legs.
At this stage, there’s no need for screws or glue; our goal is simply to ensure everything fits together seamlessly!

Once the frame of the PVC pipe bed is put together, insert the four 4-inch pieces into the 3-way fittings. Then, place the flat caps onto the ends of these short pieces. These will act as the legs and feet of the bed.
If the bed is upside down, flip it over to check if it stands correctly and whether the measurements appear accurate. This step is crucial as it’s your final opportunity to make any adjustments before attaching the fabric.
Start by placing the fabric face down, then lay the bed frame on its back over the fabric. Ensure the fabric is centered, leaving an equal amount of excess on each side. Create dog-ear folds at each corner of the fabric as demonstrated below. These folds will contribute to a polished appearance of your elevated PVC dog bed upon completion.
Proceed by folding half an inch of the fabric along one edge, using fabric glue for fixation if needed. This folded edge is where you’ll drill to attach the fabric to the frame. Wrap this folded portion over the adjacent PVC pipe and secure it with screws.
It’s important to drill through the half-inch fold you created. Place screws at intervals of about every 4 inches along the pipe’s length. After attaching the fabric along this side, fasten each fitting into the pipe to enhance stability.
Next, move to the opposite side and replicate the process. Create a half-inch fold and attach it to the pipe at 4-inch intervals.
Once completed, use a wrench or seek assistance to rotate the pipe inward, stretching the fabric until taut. While maintaining tension on the pipe, secure the two fittings into the pipe as done on the first side.
Follow the same steps for the remaining two sides, ensuring the fabric is stretched tight and firmly secured across the frame.
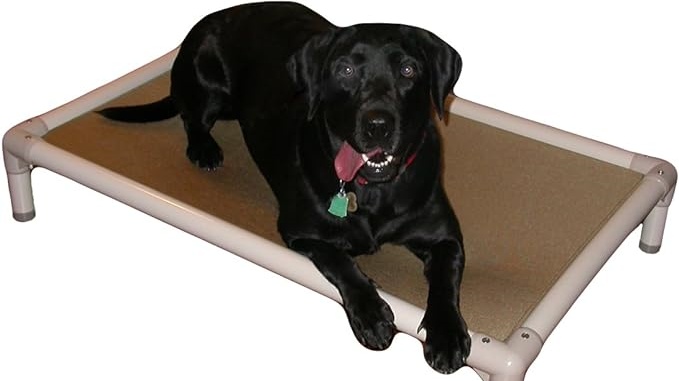
With the completion of these steps, your DIY PVC dog bed is now ready for your furry friend’s enjoyment. This bed is not only a comfortable spot for your dog to relax, but it’s also easy to maintain.
If the bed becomes dirty, simply hose it off. The chosen outdoor fabric is durable and designed to withstand prolonged use, ensuring your dog has a cozy place to rest, far superior to lying on grass or dirt.
Additionally, if you don’t have a pet, consider the charitable option of crafting a PVC dog bed and donating it to a local animal shelter or rescue organization, much like the commendable effort made by an Eagle Scout. Creating and donating these beds can be a delightful and practical way to support animals in need within your community.


When it comes to ensuring your pet’s comfort, the choice of a dog elevated bed can make a significant difference. In this blog, we delve

The moment you think of a dog elevated bed, the question arises: is it more suitable for a Great Dane or a Chihuahua? This blog

In the quest for the perfect dog elevated bed, pet owners are often faced with a dilemma: foldable or fixed? Each type offers unique benefits,
Are you a proud owner of an elevated dog bed? You know how these beds offer a haven of comfort for your furry friend. But

DIY PVC dog bed is a wonderful way to show appreciation to your canine companions, who are undeniably man’s best friends. These loyal pets provide
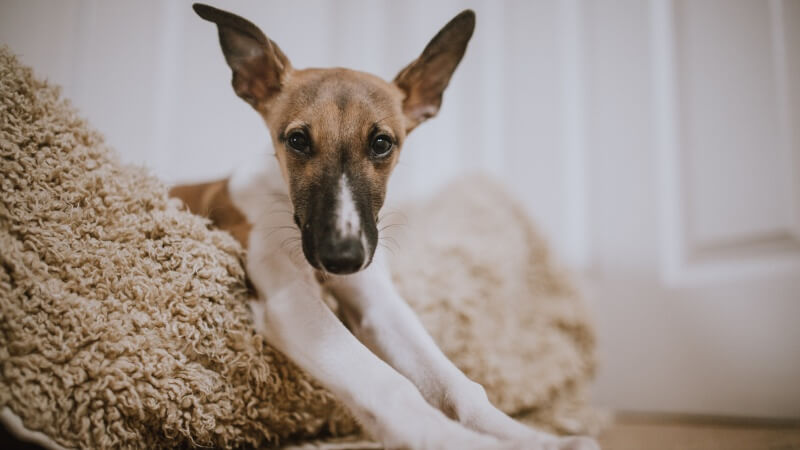
When it comes to ensuring your pet’s comfort, the choice of a dog elevated bed can make a significant difference. In this blog, we delve

The moment you think of a dog elevated bed, the question arises: is it more suitable for a Great Dane or a Chihuahua? This blog
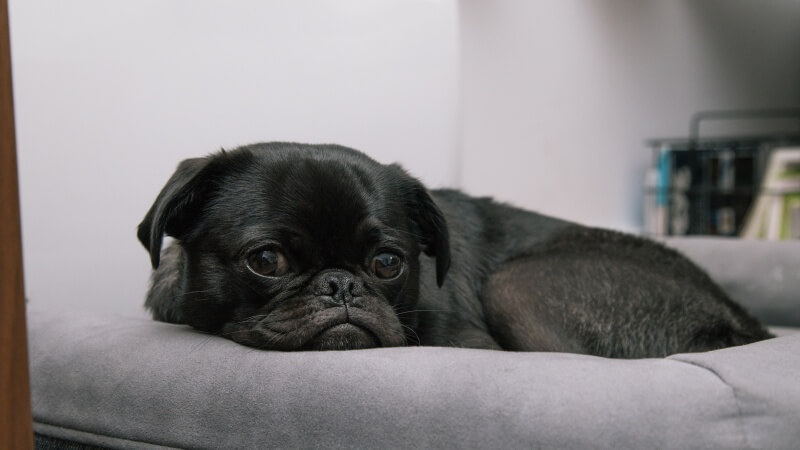
In the quest for the perfect dog elevated bed, pet owners are often faced with a dilemma: foldable or fixed? Each type offers unique benefits,
Copyright © 2024 skyrestelevateddogbed. All Rights Reserved.